Oct 14, 2021
How to adjust an RV slide out
How to adjust an RV slide out
A
By Aaron Ammar
Your RV slide-out stuck or tilting? Don't panic or call a shop yet. Learn how to adjust electric, hydraulic, and tip-out slides yourself with basic tools.
Common questions
Blog Post
Education
Your slide-out's working great until it's not. Maybe it's grinding halfway out, leaning to one side, or flat-out refusing to budge when you hit the button. We've all been there.
Whether you're dealing with a stubborn electric motor or a misaligned hydraulic system, understanding how to adjust your slide-out can save you hundreds in shop fees and get you back on the road faster.
The right maintenance moves keep your slide operating like new. We'll walk you through practical adjustments you can tackle yourself, plus show you when to call in the pros.
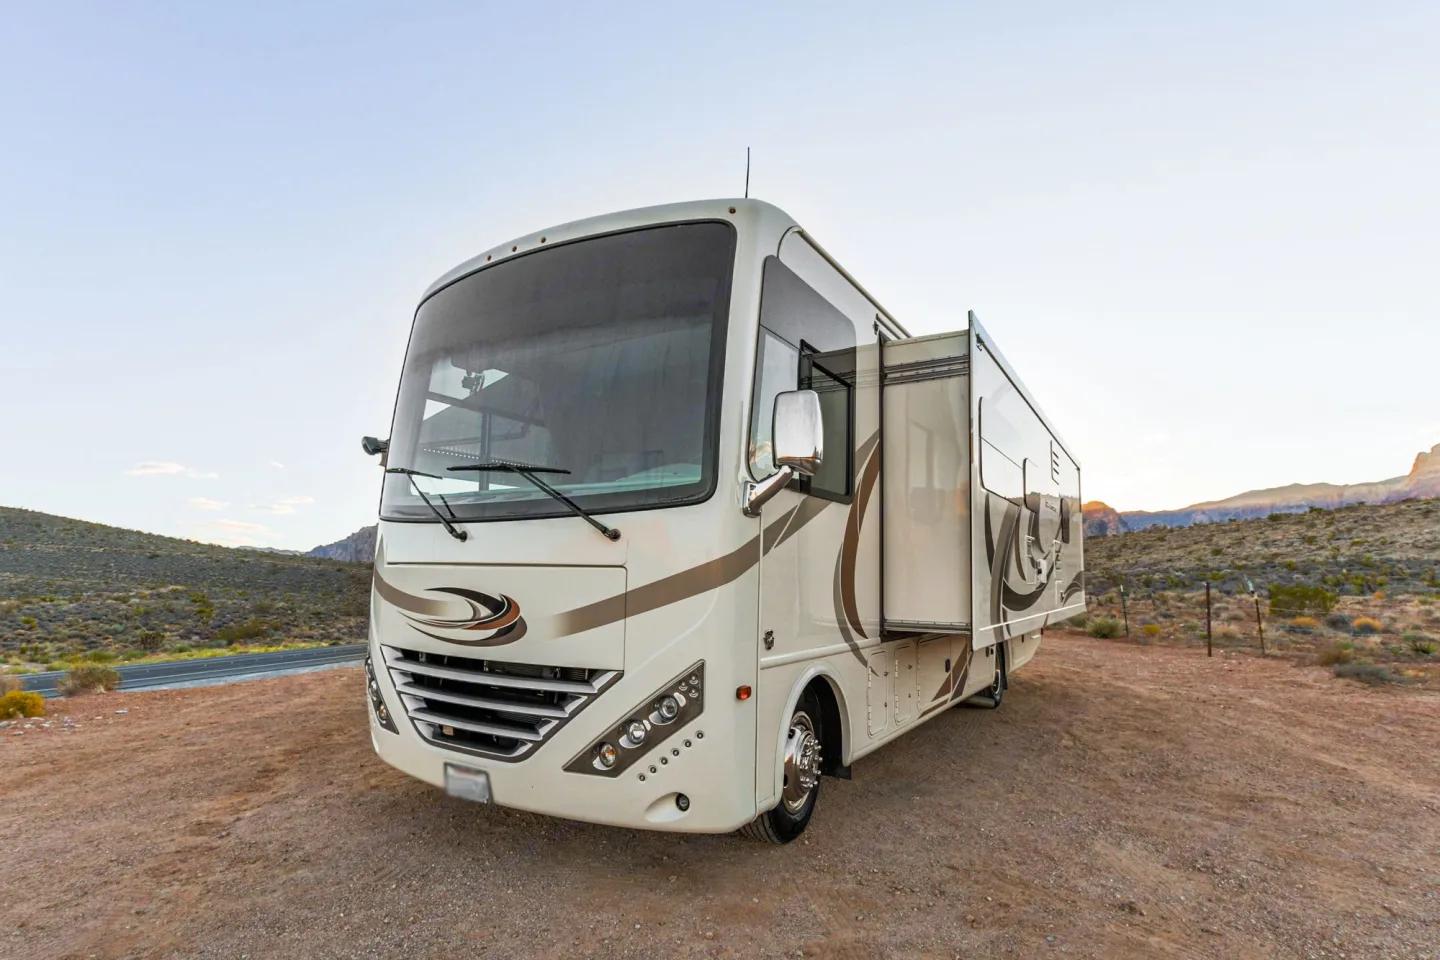
What Are the Different Types of RV Slide-Outs?
Your RV's got one of three slide types: electric, hydraulic, or the old-school manual tip-out. Knowing which one you have tells you exactly how to fix it when things go sideways.
Electric slides are what most of us have these days. It only needs a simple press of a button or flip of a switch to operate. They run on either rack-and-pinion gears (the kind that punch through your frame) or cable-pulley systems (the ones that live above your floor). Both do the same job, just in different ways of getting there.
Hydraulic slides are the muscle of the bunch. Think bigger motorhomes and fifth wheels. They use a pump, fluid, and some serious pressure to move those heavy rooms in and out. One pump can run multiple slides.
Tip-out slides are completely manual and have been phased out over the years, so you’ll probably have this if your RV is older than 2010. These require manual labor to pull out using their hinge.
Keep Your Awning Fresh
Your RV awning allows you to bring the comforts of your RV to the outside world! Keep your awning clean and ready for the next sunny day with these tips.
How Do You Adjust an Electric Rack-and-Pinion Slide-Out?
Nine times out of ten, your electric slide just needs the motor checked and the tracks lubed up. But that's easier said than done. We’ll guide you step-by-step.
First, pop off the motor's access panel with a screwdriver. Inside, you'll find a mess of wires and screws—don't let it intimidate you. Check if anything's loose. Road vibrations shake things free over time, especially if you've been down some rough dirt roads. Then tighten everything until it feels secure.
Next up: those tracks. They should be clean and smooth. Wipe them down with a dry cloth to remove all the road grime.
Now here's where most people get it wrong. Don't grab the WD-40 or use whatever's under your kitchen sink. Use a lubricant made specifically for slide-outs. The cheap stuff attracts dirt like a magnet, and you'll be back here in a month with worse problems.
Your owner's manual indicates the location of the adjustment bolts. Usually, they're on the underside of the slide mechanism. So make small turns, quarter-turn at a time, and test after each adjustment.
Pro tip: Before you touch any bolt, mark where it started. You can use a piece of tape or a marker. If things go south, you'll know how to get back to square one. Count your turns as you go.
How Do You Maintain a Hydraulic Slide-Out System?
Hydraulic slides need three things checked regularly: fluid level, leak-free hoses, and air bubbles cleared out. Get these right, and your heavy slides will glide like butter.
To get started, find your hydraulic reservoir. It's usually near the slide or under a floor panel. Then, check the fluid with your slides all the way in; that's when the fluid sits at its highest level.
If the fluid level is low, top it off with the amount recommended by your manufacturer. This is crucial because the wrong fluid can trash your seals and pump. Make sure you check your manual for the exact type.
Air pockets in hydraulic lines can cause inconsistent movement of the slide. To bleed the system, operate the slide-out fully in and out several times while topping off the fluid. This pushes air bubbles through. Next, inspect your hydraulic lines for wet spots or drips and tighten any loose fittings with a wrench. See a damaged hose? Replace it now, not later.
For seal adjustments, you've got nuts and bolts on the front and rear hydraulic arms. Minor tweaks here can raise, lower, or shift the room side to side because each corner adjusts on its own. You can make tiny changes, test, and repeat.
Should You Get an Extended Warranty?
Wondering if you should get an extended warranty for your RV? Learn how an RV extended warranty works and whether it’s right for you.
What About Older Tip-Out Slide Adjustments?
Tip-out slides use cables and nuts that you adjust by hand. You should mark your starting spot, make tiny turns with a wrench, and count every rotation so you don't go too far.
The first step is to locate the adjustment sticker on your slide. It'll show you the cable routing and where to make adjustments. Read it twice before you start turning anything. Next, grab a wrench that fits the adjustment nut. Before you turn it, mark its current position using a marker or tape.
Then make quarter-turns and count each one out loud or write it down. These cable systems are finicky. If you go too far, you'll be fighting it for hours trying to get it back right. Now test the slide after each adjustment. It should move smoothly and straight, no pulling to one side.
If your cables look frayed or the whole thing feels sketchy, stop. These systems can be dangerous if cables snap under tension. That's a job for someone with the right tools and experience.
Insure Your RV
Are you an RV owner looking to make money off of your rig when you’re not exploring? Learn more about Roamly— insurance coverage for owners who want to rent out their RV.
When Should You Call a Professional for Slide-Out Repairs?
Here's when to put down the wrench and pick up the phone:
- Your slide won't move even with fresh batteries and everything tightened up.
- You see bent tracks, stripped screws, or damaged gears.
- The slide is tilting hard to one side or binding up during operation.
- The hydraulic fluid is pouring out, or the pump sounds like it's chewing rocks.
- Your slide hit something while extending, or you backed into a tree with it out.
What Preventive Maintenance Keeps Slide-Outs Running Smoothly?
Regular cleaning, inspection, and lubrication can prevent up to 90% of slide-out problems. Here’s an RV slide-out maintenance checklist:
- Regularly clean the slide-out roof using a small broom or brush. Do this before every retraction.
- Inspect your seals every three months. Look for cracks, dryness, or areas pulling away from the frame. Ensure you clean them with mild soap and water, and replace damaged seals before they cause leaks.
- Check for loose screws or bolts on a quarterly basis. Tighten anything that's wiggled free from road vibration.
- Apply lubricant to moving parts every three to six months, depending on usage. Use RV-specific products, not household oils.
- Learn what your slide sounds like when operating normally. When something makes a strange sound, you'll know straight away if it's normal or not.
- Always operate the slides on level ground with the parking brake engaged. Keep the engine running during operation to maintain proper voltage from the alternator.
What to Know Before Using Your Slide-out
Before using your slide-out, be sure to take the following things into consideration:
- Not all campgrounds welcome slide-outs. Depending on where you're heading, verify if the site allows them. Some charge additional fees for the extra space you'll occupy.
- Set up all your hookups (electric, water, sewer) before extending slides. The motor needs stable power to operate properly.
- Clear the area inside and outside your RV. Check for pets, people, and objects in the slide's path. Look for trees or obstacles outside that could catch the slide.
- If your RV has travel latches, unlock them before extending the awning. These secure the slide during transport but will block operation if left engaged.
- Lastly, check your battery charge because electric slides draw considerable power. A weak battery can cause the slide to move unevenly or stop mid-operation.
Bottom Line
Your slide-out is the difference between cramped quarters and a comfortable living space. Keep it maintained, address small issues before they become big problems, and don't hesitate to call in expert help when needed.
Whether you're a full-time camper or weekend warrior, proper slide-out care means more time enjoying the journey and less time spent at the repair shop. Your manufacturer's manual is your best resource; however, these basics apply to most systems.
When it comes to RV insurance, we've got you covered. You can get a free custom RV insurance right here.
Uneven slide movement typically stems from misaligned tracks, low hydraulic fluid (for hydraulic systems), loose motor connections, or obstructions in the slide path. You can start by checking for debris and ensuring your RV is level before investigating mechanical issues.
Avoid extending slides in heavy rain, snow, or high winds when possible. Freezing rain and snow can prevent slides from closing and may damage weather seals. If rain has pooled on the slide roof, use your leveling system to tilt the RV slightly and let water drain before retracting.
Basic maintenance tasks, such as tightening loose screws, cleaning tracks, and applying lubricant, are safe DIY projects. However, major adjustments involving alignment, hydraulic repairs, or cable replacements should be handled by certified RV technicians to avoid causing expensive damage.
Always use lubricants specifically designed for RV slide-outs. These products won't attract dirt like household oils or WD-40. Check your owner's manual for manufacturer recommendations. Some newer systems (like certain Schwintek slides) require no lubrication at all.
Lubricate slide-out moving parts every three to six months, depending on how frequently you use your RV. If you're a full-timer, lean toward quarterly lubrication. Weekend warriors can stick to twice yearly.
Roamly Insurance Group, LLC ("Roamly") is a licensed general agent for affiliated and non-affiliated insurance companies. Roamly is licensed as an agency in all states in which products are offered. Roamly license numbers. Availability and qualification for coverage, terms, rates, and discounts may vary by jurisdiction. We do not in any way imply that the materials on the site or products are available in jurisdictions in which we are not licensed to do business or that we are soliciting business in any such jurisdiction. Coverage under your insurance policy is subject to the terms and conditions of that policy and is ultimately the decision of the buyer.
Policies provided by Roamly are underwritten by Spinnaker Insurance Company, Progressive Insurance Company, Safeco Insurance Company, Foremost Insurance Company, National General Insurance, Mobilitas Insurance Company, and others.
Connect
© 2026 Roamly All rights reserved.
