Oct 11, 2021
How to Paint RV Cabinets: A Complete DIY Guide
How to Paint RV Cabinets: A Complete DIY Guide
A
By Aaron Ammar
See how to paint RV cabinets. Discover expert tips and techniques for a professional-looking finish to transform your RV interior.
Common questions
Blog Post
Education
Painting RV cabinets involves five key steps: remove doors and hardware, clean and sand surfaces, apply bonding primer, paint with 2-3 thin coats using high-quality alkyd enamel or hybrid paint, then allow 21-30 days for full cure. The best paints for RV cabinets are alkyd enamel or hybrid alkyd paints, which provide durability for the road. Most RV cabinets are MDF or veneer, not solid wood, requiring proper prep and primer for lasting results. With careful preparation and the right materials, your cabinet makeover can transform your rig's interior for $200-500 versus thousands for replacement.
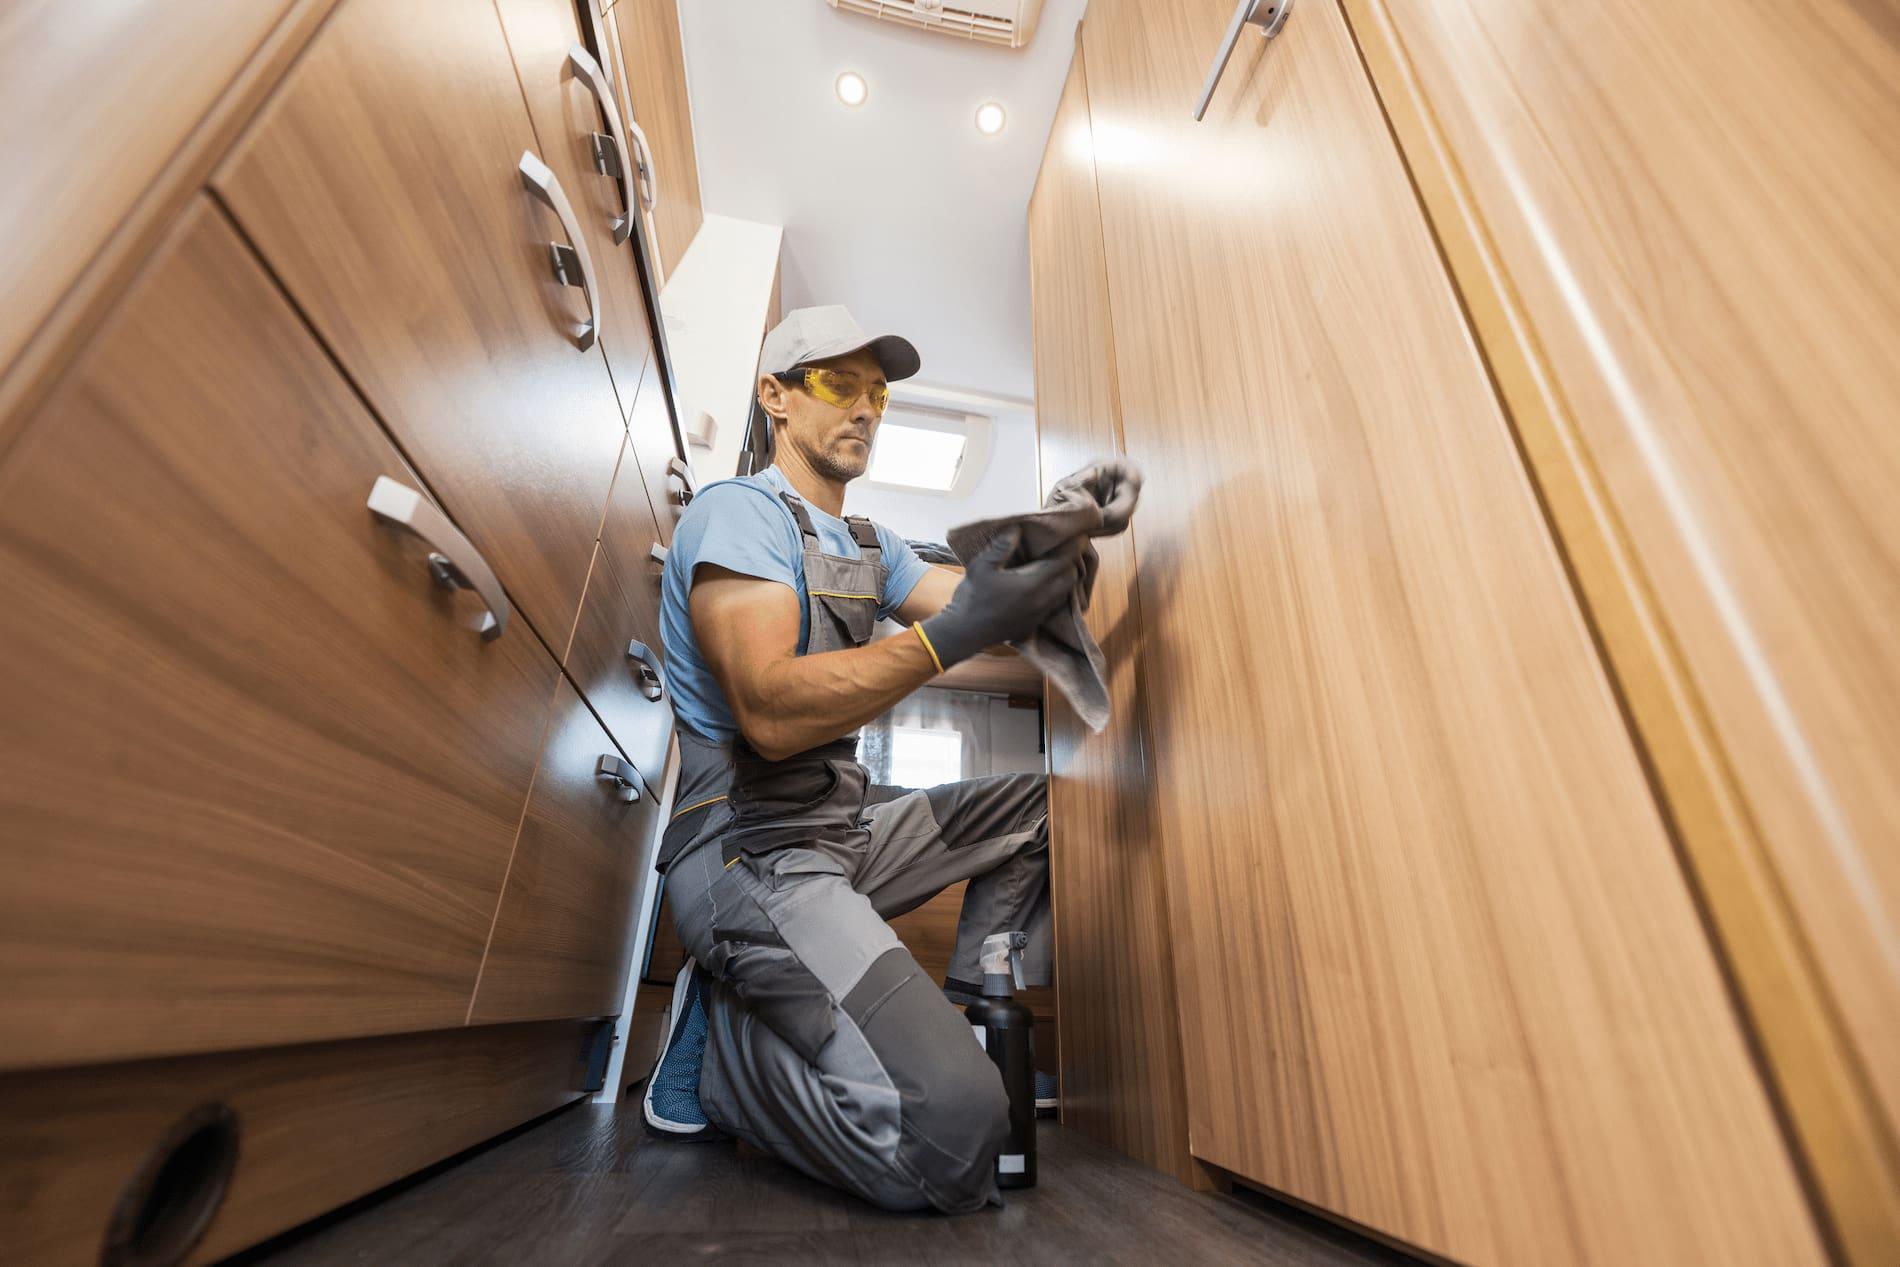
Got cabinets that look like they're straight out of the '90s? Don't worry—we've all been there. Whether you're refreshing a vintage Airstream or updating a newer Class C, painting your RV cabinets is one of the fastest ways to make your rig feel like home. With RV shipments up 13.9% in early 2025 and more people embracing the RV lifestyle than ever, it's no wonder cabinet makeovers are trending. Let's walk through exactly how to get professional results that'll hold up mile after mile.
Why Should You Paint Your RV Cabinets Instead of Replacing Them?
Painting RV cabinets costs 80-90% less than replacement while offering unlimited color options and significantly improving your rig's value and livability.
Let's be honest—cabinet replacement in an RV isn't like swapping out kitchen cabinets in a house. You're dealing with custom measurements, limited access, and weight restrictions that vary significantly depending on whether you own a Class A, B, or C motorhome or travel trailer. Paint was the most frequently purchased home improvement product in 2024 at 65% of renovating homeowners, and for good reason.
Here's what makes painting the smart choice for RVers:
Budget Reality: The median household spending on home improvement projects reached $24,000 in 2023, but RV cabinet painting typically runs $200-500 in materials versus $3,000-8,000 for full replacement.
Weight Considerations: Every pound matters in an RV. Paint adds virtually no weight, while new cabinets can easily add 50-100 pounds or more.
Customization Freedom: Want that perfect shade of sage green to match your boho vibe? Colorful RV renovations are trending in 2025, and paint gives you unlimited options—especially important for full-time RVers who want their rig to truly feel like home.
Timing: A paint job takes a long weekend; cabinet replacement can sideline your rig for weeks.
Pro Tip for Rental Income: A beautifully renovated RV with fresh cabinets can command higher rental rates on platforms like Outdoorsy. If you're considering renting out your RV for extra income, a cabinet refresh is one of the most cost-effective ways to boost your rig's appeal and rental value.
What Type of Paint Works Best for RV Cabinets?
Alkyd enamel paint is the best choice for RV cabinets, offering oil-paint durability with water-based convenience.
After testing everything from chalk paint to traditional latex, experienced RV renovators consistently recommend hybrid alkyd enamels. Here's why:
Top Paint Recommendations for 2025:
- Sherwin-Williams Emerald Urethane Enamel (Premium choice)
- Professional RV renovators' top pick for overall performance
- Self-leveling formula minimizes brush strokes
- Frequently on sale for 40% off
- Benjamin Moore Advance (Professional grade)
- Delivers the most professional finish with incredible leveling
- Cures to a factory-smooth surface
- Higher price but excellent results
- Dutch Boy Alkyd Enamel (Budget-friendly)
- Excellent budget option that performs well with a proper primer
- Requires bonding primer for best results
- Great for first-time cabinet painters
Paint Types to Avoid:
- Standard latex paint: Latex paints peel and flake more easily on high-touch surfaces
- Paint and primer in one: Works for walls, not cabinets
- Chalk paint without topcoat: Won't hold up to RV life
How Do You Properly Prep RV Cabinets for Painting?
Proper cleaning, sanding, and priming are the most critical steps—more important than the paint quality itself.
Here's the reality: Most RV cabinets are lightweight particleboard with wood or laminate veneer, not solid wood. That means prep work makes or breaks your project.
Step-by-Step Prep Process:
- Remove Everything (Day 1)
- Remove all doors, drawers, and hardware with a drill
- Label doors with painter's tape so you remember where they go
- Take photos before disassembly (trust us on this one)
- Deep Clean (Day 1)
- Use Krud Kutter or a TSP substitute to remove all grease, dirt, and residue
- Scrub with the scouring side of a kitchen sponge
- Wipe with a damp cloth, then dry completely
- Sand for Adhesion (Day 1-2)
- Use 220 grit sandpaper on all surfaces—this step should never be skipped
- An orbital sander will save your arms and give more consistent results
- Be gentle on veneer surfaces to avoid breakthrough
- Fill and Repair (Day 2)
- Use wood glue to re-adhere any peeling paper coating
- Fill dents and scratches with wood filler
- Sand filler smooths once dry
- Prime Everything (Day 3)
- Use Zinsser Shellac Primer or Kilz oil-based primer for the best adhesion
- Don't skip primer—it's your insurance policy
- Allow 24-48 hours to cure before painting
Pro Tips from the Road:
- Work outside when possible for better ventilation and workspace
- Puppy pads make excellent mobile drop cloths that you can move around
- Remove cabinet doors and paint them separately for easier access
What's the Best Technique for Applying Paint to RV Cabinets?
Apply multiple thin coats rather than one thick coat, using a high-quality brush and foam roller for the smoothest finish.
The application method can make the difference between a DIY disaster and professional-looking results. Here's what works:
Application Methods Ranked:
- Brush + Foam Roller Combo (Best for beginners)
- Use a brush for corners and details, a foam roller to smooth the finish, and remove brush strokes
- Most forgiving technique
- Great for textured cabinet faces
- Paint Sprayer (Fastest, requires experience)
- Spraying goes on smoother and faster, but requires extra prep for overspray
- Perfect for large projects or full RV renovations
- Graco Magnum paint sprayer recommended for RV projects
- Brush Only (Most accessible)
- With quality rollers and self-leveling paint, rolled cabinets look great
- Use high-quality brushes (Purdy recommended)
- Work in light, even strokes
The Painting Process:
Day 1: First Coat
- Start with cabinet boxes, then move to doors
- Apply thin, even coats
- Mix 8oz Floetrol per gallon of paint to eliminate brush strokes and roller marks
Day 2-3: Between Coats
- Light sand with 220-grit and wipe clean between coats
- Most projects need 2-3 coats for full coverage
Day 4+: Patience Pays
- Paint may feel dry to the touch, but takes up to 3 weeks to fully cure
- Wait at least 48 hours before handling
How Long Should RV Cabinet Paint Cure Before Use?
Traditional oil-based paints need 21-30 days to fully cure, while hybrid alkyds typically cure in 7-14 days but benefit from longer cure times.
This is where patience becomes your best friend. The #1 reason painted cabinets fail is rushing the curing process. Here's the realistic timeline:
Drying vs. Curing Timeline:
- Touch Dry: 2-4 hours (don't touch!)
- Recoat: 24-48 hours between coats
- Light Use: 7 days minimum
- Full Cure: 21-30 days for maximum hardness and durability
What This Means for Your RV:
- Plan painting before a long stay, not before a big trip
- Don't load heavy items in cabinets for the first week
- Be extra gentle with doors and drawers initially
Temperature and Humidity Factors: RVs experience extreme temperature swings that can affect curing. Paint in moderate temperatures (65-75°F) with low humidity when possible.
Should You Add a Protective Topcoat to RV Cabinet Paint?
Alkyd enamel paints do not need a topcoat, and manufacturers recommend against applying one.
This trips up a lot of DIYers coming from furniture painting. Unlike chalk paint or standard latex, quality cabinet paints are designed to be the final finish.
When You DON'T Need Topcoat:
- Alkyd enamel paints (Sherwin-Williams, Benjamin Moore Advance, etc.)
- Hybrid urethane enamels
- Any paint specifically labeled for cabinets
When You MIGHT Need Topcoat:
- Chalk paint requires a protective topcoat for durability
- Standard latex paint in high-wear areas
- Optional matte water-based polyurethane for extra protection
The reality? Modern cabinet paints like Benjamin Moore Advance cure to a hard, durable finish that doesn't need additional protection.
How Much Does It Cost to Paint RV Cabinets?
Based on current market prices, expect to spend $200-500 for a complete RV cabinet painting project, depending on rig size and paint quality.
Here's the breakdown for a typical 30-foot travel trailer:
Material Costs:
- Paint: $60-120 (1-2 quarts premium cabinet paint)
- Primer: $30-50 (1 quart bonding primer)
- Supplies: $50-100 (brushes, rollers, sandpaper, cleaner)
- Hardware: $50-200 (if replacing handles/knobs)
Tool Rental/Purchase:
- Orbital Sander: $40-80 (highly recommended)
- Paint Sprayer: $150-300 (optional)
Time Investment:
- Prep Work: 8-12 hours
- Painting: 4-6 hours
- Total Project: 2-3 weekends
Compared to Replacement:
- New Cabinets: $3,000-8,000 installed
- Paint Refresh: $200-500 DIY
- Professional Paint Job: $1,500-3,000
Ready to hit the road with your freshly painted cabinets? Get a personalized RV insurance quote to make sure your upgraded rig is properly protected. At Roamly, we understand that your RV is more than just a vehicle; it's your home on wheels, and every improvement matters.
Laminate cabinets require careful sanding to avoid damaging the veneer, plus a bonding primer designed for non-porous surfaces. The process is the same, just be gentler.
Most renovators skip painting cabinet interiors since drawer movement can scrape off paint, creating a powdery mess. Focus on visible surfaces.
Remove hardware completely and spray paint separately for best results. Black and brushed gold are trending in 2025.
Rushing the cure time—give your paint job at least 7 days before normal use and 3 weeks for full hardness.
While liquid sandpaper can work alone, combining light sanding with liquid sandpaper gives the most consistent results on RV cabinets, which are made from different materials.
Roamly Insurance Group, LLC ("Roamly") is a licensed general agent for affiliated and non-affiliated insurance companies. Roamly is licensed as an agency in all states in which products are offered. Roamly license numbers. Availability and qualification for coverage, terms, rates, and discounts may vary by jurisdiction. We do not in any way imply that the materials on the site or products are available in jurisdictions in which we are not licensed to do business or that we are soliciting business in any such jurisdiction. Coverage under your insurance policy is subject to the terms and conditions of that policy and is ultimately the decision of the buyer.
Policies provided by Roamly are underwritten by Spinnaker Insurance Company, Progressive Insurance Company, Safeco Insurance Company, Foremost Insurance Company, National General Insurance, Mobilitas Insurance Company, and others.
Connect
© 2026 Roamly All rights reserved.
